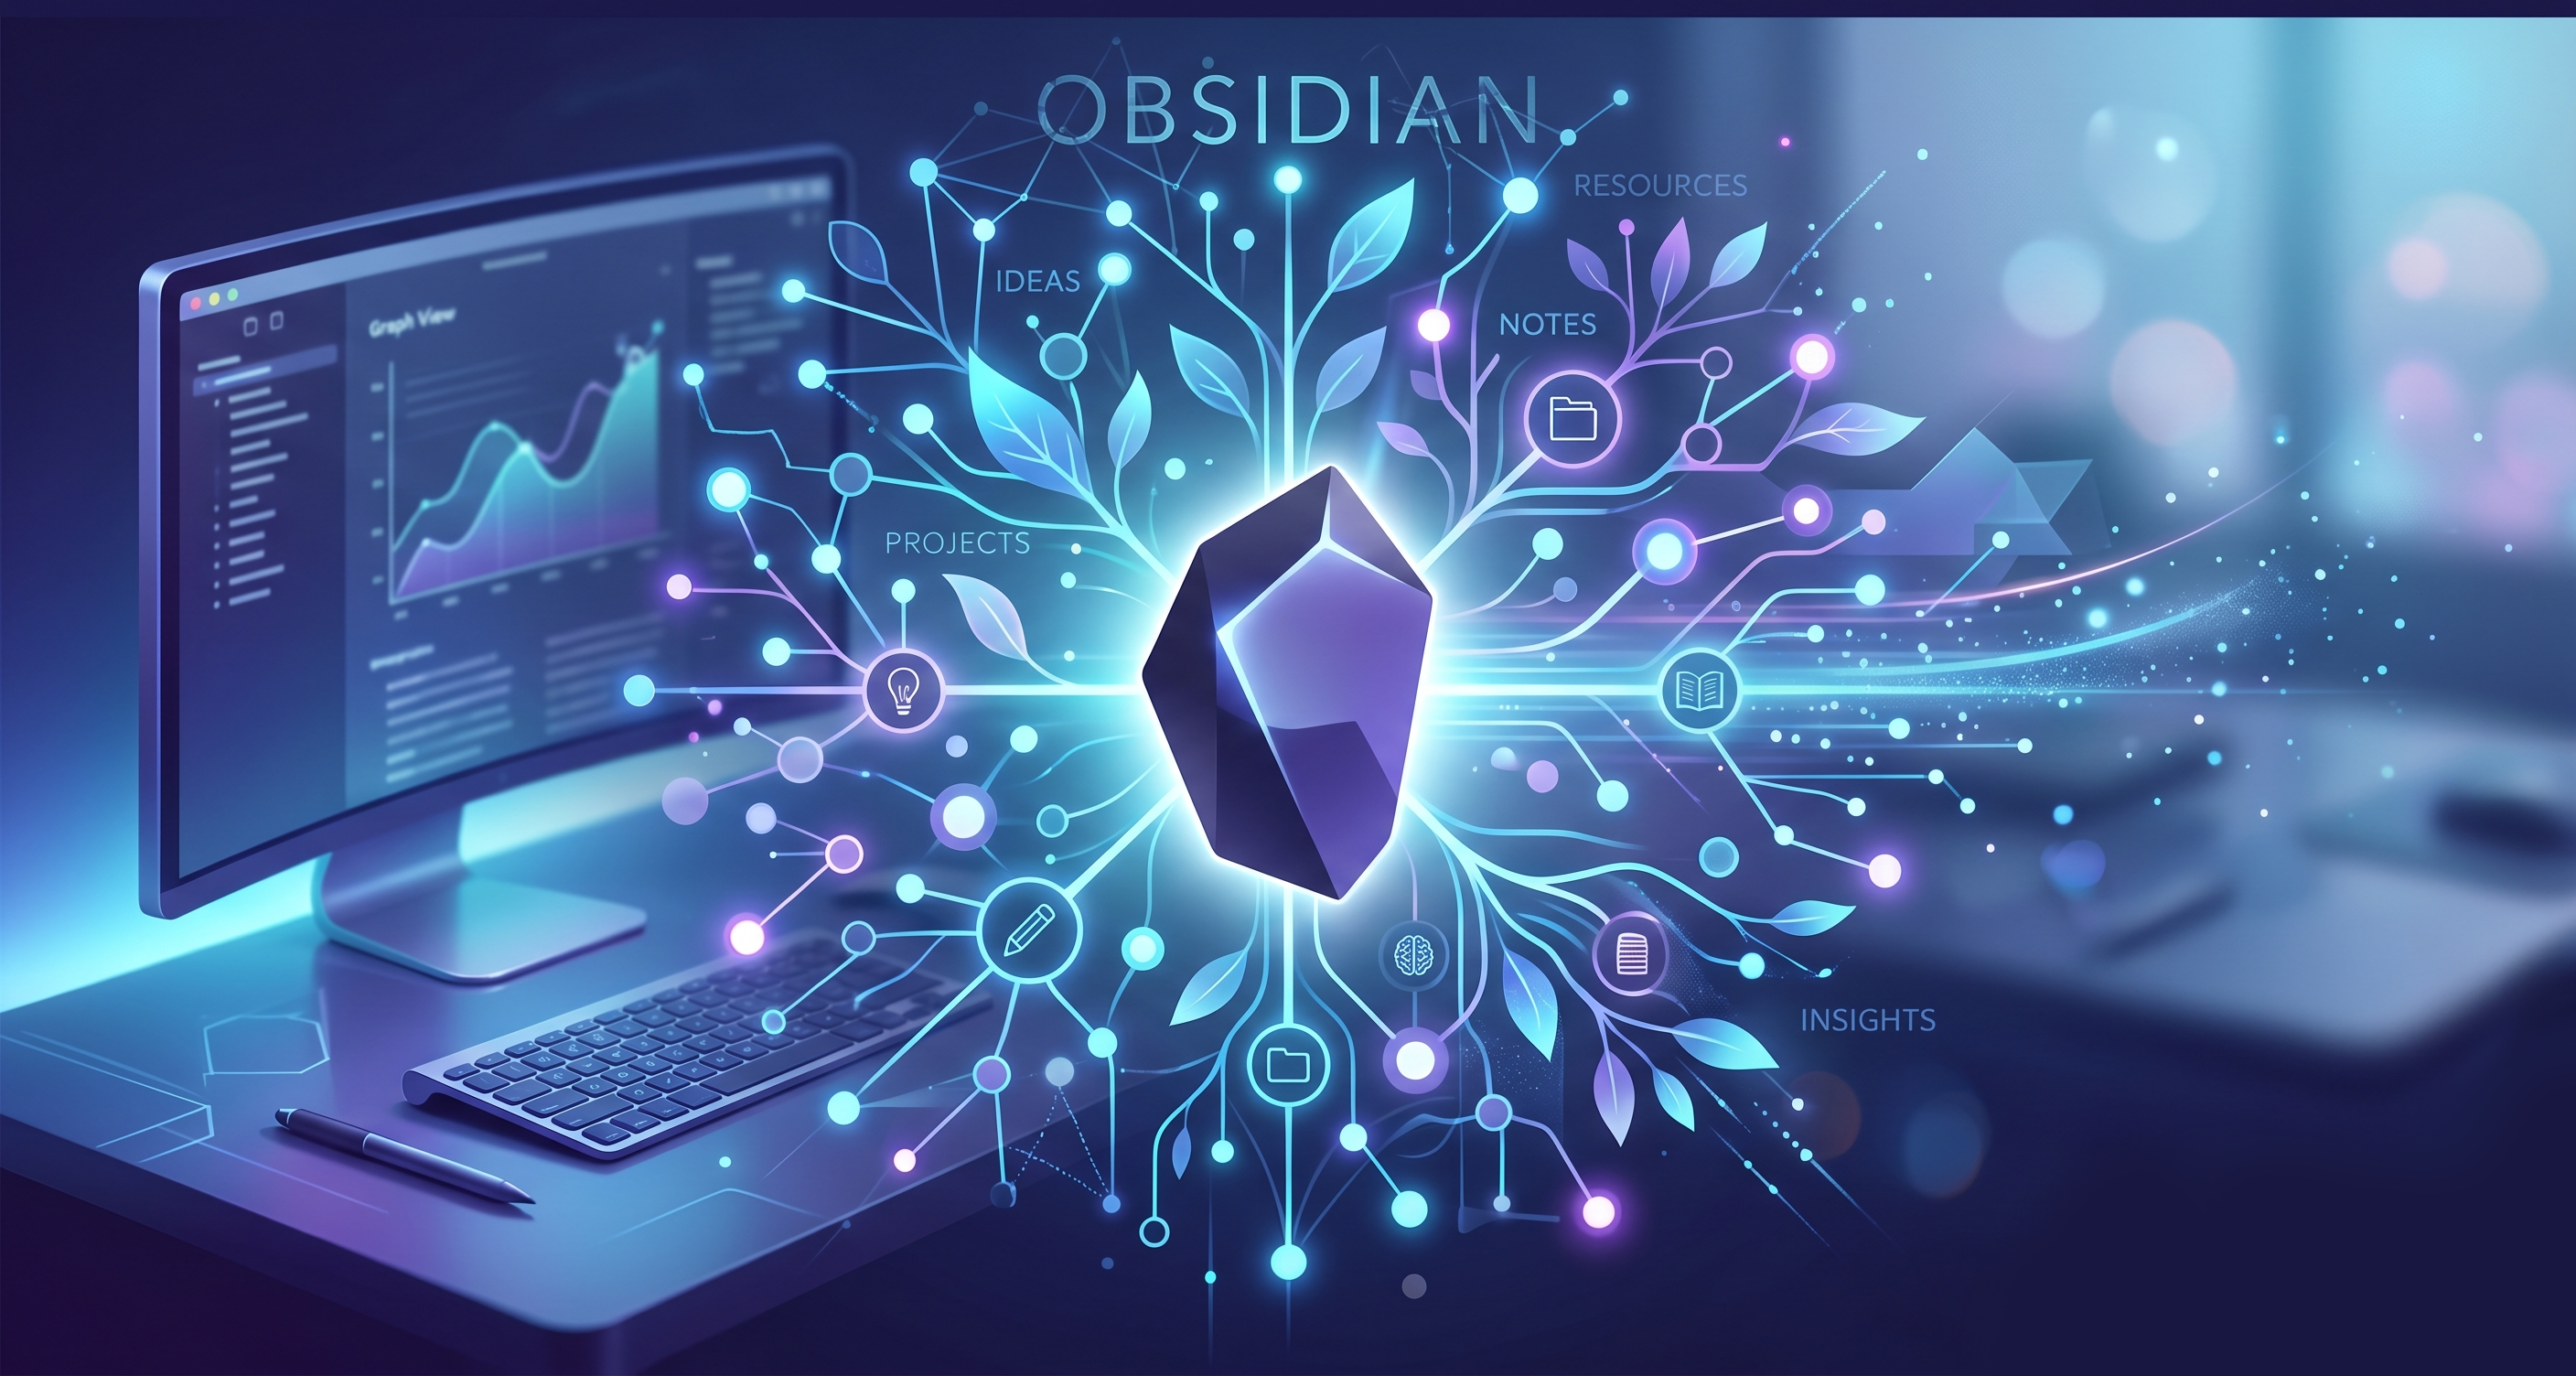
Obsidian: IDE for your thoughts. A developer's experience
In the world of web development, we are accustomed to strict rules: type safety in code, clean architecture, version control. But when it comes to managing our own knowledge, pet projects, and daily tasks, chaos often ensues from a mess of scattered notes.
I was looking for a knowledge base tool that would be as fast, flexible, and under my control as my favorite code editor. And I found it — Obsidian.
What is Obsidian and why do you need it?
Technically, Obsidian is a note-taking application. But ideologically, it is a powerful knowledge base that works on top of a local folder with ordinary text files in Markdown format.
Here is why this tool fits a developer's workflow perfectly:
Full data control. Notes aren't locked on someone else's servers or in proprietary databases. It's just a folder with
.mdfiles on your disk. You can easily push them to a private GitHub repository and use version control.Markdown under the hood. Formatting happens in the familiar way — just like we write
README.mdfiles or project documentation.Bidirectional links (Backlinks). The killer feature of Obsidian. You can link notes to each other
[[like this]], building a network (a graph) rather than just dumping them into dead folders.Flexible tagging system. Similar to labels on GitHub, tags help classify information across the entire base without being tied to a rigid folder structure. Obsidian supports nested tags (e.g.,
#nextjsor#bugfix), which allows for instant content filtering and precise queries.Plugins. The community plugin ecosystem allows you to turn a minimalist editor into anything you want: a task tracker, a Kanban board, or a project management system.
The rub: what's wrong with synchronization?
Many who encounter Obsidian for the first time are puzzled by one obvious point: there is no free cloud synchronization "out of the box." Since your notes are just local files, by default, they only live on the device where you created them.
Of course, the developers offer an official solution — Obsidian Sync. But it has two significant downsides. First, it’s a paid subscription. Second, and most importantly, using someone else's servers kills the very philosophy for which we choose Obsidian in the first place. We are moving away from proprietary services (like Notion or Evernote) for the sake of full control over our data, only to pay again to store our .md files on someone else's server? For many developers, that sounds illogical, to say the least.
But don't be disappointed. This problem can be solved elegantly, completely free, and securely — without intermediaries or corporate clouds.
Spoiler: in one of the upcoming articles, I will describe in detail how I set up ideal p2p-synchronization of my database between all devices using the Syncthing utility.
And while this question is set aside for now, let’s get back to the most interesting part — how to properly organize the structure of notes within your vault so it doesn't turn into a dumping ground.
Installation and creating your first Vault
The startup process is straightforward, with no complex registrations or cloud lock-in.
Step 1: Installation
The easiest and most obvious path is to go to the official Obsidian website and download the graphical installer for your operating system.
Step 2: Creating a Vault
Upon the first launch, the program will prompt you to open an existing folder or create a new one. In Obsidian, this is called a Vault.
It sounds grand, but in reality, you are just creating a directory on your hard drive:
Select Create new vault.
Set a name — for example,
Muntai_BrainorKnowledge_Base.Specify the folder path. Tip: if you want to sync notes for free between Apple ecosystem devices, just create this folder inside iCloud Drive. If you prefer Git, place it in your workspace directory to version control it like a standard repository.
Once the folder is created, an empty editor opens before you. No forced onboarding — just you and a blank slate.
Step 3: Plugins — turning a notebook into an IDE for thoughts
Out of the box, Obsidian is just a fast and minimalist Markdown editor. It reveals its true power thanks to the community plugin system. With their help, you can assemble practically any tool: from the simplest Kanban board to a complex project management system.
In my vault, there is currently an established set of plugins running that covers all my needs for planning, managing pet projects, and writing code. Here is my "gentleman's set," categorized by task.
Out-of-the-box foundation: Core Plugins
Before loading up the system with third-party modules, it's worth configuring what comes with Obsidian by default. The basic functionality isn't forced on you — you choose for yourself which modules to activate.
Here is what I left enabled in the "Core plugins" settings section for a comfortable workflow:
🧠 Graph and Links (Core of the system)
This is what distinguishes Obsidian from a regular notebook and turns it into a knowledge base:
Graph view — visualization of all notes and the connections between them as a graph. An excellent way to spot "orphaned" ideas or, conversely, the largest clusters of information.
Backlink and Outgoing-link — panels for incoming and outgoing links. They allow you to see the context: which note you are linking to and which notes are linking to the current one.
🗂 Navigation and Interface
Tools that save time on mouse clicks and allow you to work in a command-line style:
Command palette — a classic command palette triggered by hotkeys (like in VS Code or WebStorm). Through it, you can trigger any action without searching the menu.
Switcher — quick switching between files by name.
Bookmarks — I use these to pin the most important index notes (MOCs) to the sidebar that I need constant access to.
Outline and Tag pane — automatic table of contents based on headers within a note and a convenient tree of all used tags.
⚙️ Metadata and Structure
Properties — a built-in interface for working with Frontmatter (YAML metadata at the beginning of a file). This is a critically important plugin, as automation and Dataview queries are built upon these properties (dates, statuses, tags).
Canvas — a built-in infinite whiteboard. If I use Excalidraw for strict architectural diagrams, Canvas is perfect for visually scattering note-cards during a brainstorming session.
🛠 Developer Utilities (Refactoring thoughts)
Note composer — a powerful tool for refactoring notes. It allows you to select a chunk of long text and move it into a separate file with a couple of clicks, automatically leaving a link to it in the original document.
File recovery — local backups. Obsidian takes snapshots of your files at set intervals. It saves you if you accidentally deleted a piece of text and already closed the file.
It is worth noting that plugins like Sync or Publish are intentionally disabled for me. As I mentioned earlier, we do not use paid cloud solutions, and we fully control the storage process.
Third-party plugins:
🧠 Automation & Data Management
This is the core of my system, which turns ordinary text files into a dynamic database.
Dataview (and its successor Datacore, which is still evolving): An absolute must-have. Allows you to write SQL-like queries directly in your notes. With it, I generate automatic lists (e.g., all notes with the
#nextjstag that I haven't opened in over a month) or build dynamic tables for projects.Tasks: Integrates a full-featured task tracker into Markdown. Tasks can be scattered across different files during brainstorming sessions, and the plugin will gather them into a single list with filtering by dates, priorities, and statuses.
Templater: Replaces Obsidian's basic templates. It can execute JavaScript scripts inside notes when they are created — automatically inserting current dates, prompting for a project name via a popup window, and immediately formatting metadata (Frontmatter).
🎨 Visuals & Navigation
A knowledge base should be pleasant to work with. For appearance, I use the Minimal and Catppuccin themes, and their fine-tuning is done through the Style Settings plugin. For navigation convenience, I use:
Homepage: Sets a startup note that opens when launching Obsidian (great for a dashboard with current tasks).
Icon Folder: Allows you to attach icons to folders and files. I added custom SVG icons from the Simple Icons set. The eye instantly picks out directories with Next.js, TypeScript, Django icons, or the Mercedes maintenance log folder from the sidebar.
Calendar: A handy calendar widget on the sidebar for quick navigation through Daily Notes.
🛠 Tools for Work & Media
Here are the plugins that make daily work with content smoother and eliminate routine.
Excalidraw: Full integration of the popular diagramming tool. Indispensable when you need to quickly sketch a database architecture, relationships between components, or just the logic of a new feature before writing code.
Kanban: Turns ordinary lists into Trello-style boards. Perfect for tracking development stages.
Omnisearch: Smart search across the entire vault. It searches not only by text but can also recognize text in images (OCR) and PDF files.
Local Images Plus & Clear Unused Images: My forest rangers. The first automatically downloads images to the vault if I just paste a URL from the internet (so nothing gets lost if the external site goes down). The second cleans up orphaned images whose links I've removed from the text, preventing the media folder from bloating.
Editing Toolbar / Markdown Formatting Assistant: Adds convenient visual panels for text formatting, which sometimes saves the day when you're too lazy to manually type Markdown syntax for tables or complex markup.
Highlightr: For beautifully highlighting text with colored markers.
URL into selection: A super convenient little thing that allows you to select text and paste a copied URL, automatically turning the text into a
[text](url)link.
This stack allows me to keep everything under control and not waste time searching for the right information. Next, I'll show the most interesting part — how I used this set to build the architecture of connections and that same Map of Content (MOC).
Step 3: Vault Architecture: Map of Content (MOC) and the Magic of Links
When we move away from the familiar (and often dead-end) system of nested folders, a question arises: how do you avoid losing anything? This is where the concept of MOC — Map of Content comes into play.
An MOC is an index note. A kind of connection hub or hub that brings together other notes around a specific topic.
For this system to work, we don't need to create dozens of directories. The most important thing is to create just two main catalogs.
00_MOCs Directory (Hubs)
The 00_ prefix at the beginning of the name is solely for sorting: this way, this folder will always be pinned at the very top of the file tree. Here we store our map files, where all related notes will be automatically collected. We create MOC files for the key areas of your life and work. For example:
MOC_DevMOC_PythonMOC_NextJsMOC_VpsMOC_WorkMOC_Personal
What does this look like in practice? Here's an example of what's inside the MOC_NextJs file.
Thanks to the Dataview plugin, we write a small query:
Code fragment
```
TABLE file.cday AS "Created"
FROM [[MOC_NextJs]]
SORT file.ctime DESC
WHERE file.name != "Homepage"
```
P.S. I will explain a bit later in the article about the "Homepage" file and why we exclude it from the list.
This script works like magic: it automatically builds a table from all the notes existing in the vault that link to this MOC and sorts them by creation date. You no longer need to manually update lists.
Catalog 10_Notes (All notes)
Absolutely all your notes will be stored here.
This is the main superpower of Obsidian! We dump everything into one folder instead of painfully trying to sort files into categories like Dev/Frontend/React/Nextjs/Errors. You don't need to do any of that — our MOC files will take over all the organizational work.
The only advice is to make the folder easier to navigate visually by giving files clear names with prefixes. For example:
Dev - LazyVim KeymapsDjango - MultilingualismVPS - Docker deployment of the project
Routine automation: Setting up Templates
Before we start creating notes en masse, let's get rid of the need to manually write the file structure every time. To do this, we use the built-in Templates plugin.
1: Preparing the folder Create another directory in the root of your vault and name it Templates.
2: Configuring the plugin Since we have already discussed core plugins, simply go to the Obsidian settings (gear icon) and find the "Templates" plugin settings section. The most important thing here is to specify the Template folder path. Select our newly created Templates folder and close the settings.
3: Creating a universal template Now, let's create a new file inside the Templates folder. Name it, for example, Note Template. Paste the following structure into it:
Markdown
```
---
created: {{date}}
tags:
-
---

**Subject:** [[

#{{title}}

### Description

```
The template is ready. When you invoke it, Obsidian will automatically insert the current date in place of {{date}} and the file name in place of {{title}}.
4: Adding the button to the ribbon. To keep the template always at hand:
Go to Settings -> Appearance -> Ribbon settings.
Click Configure.
Add the Insert template command.
Workflow: How to create and link a note
Now let's see how this scheme works in everyday life. The process takes seconds:
Right-click on the
10_Notesdirectory and select New note.Type a name (e.g.,
VPS - Nginx setup).Click the template insertion icon we just added to the sidebar (ribbon). Select
Note Template.The template expands instantly: the date and title are filled in.
And now the main part: how to link it to an MOC? The template has a pre-prepared line: Topic: [[. Just place the cursor right after the brackets and start typing the name of the relevant hub. For example, type MOC_Vps. Obsidian will suggest a dropdown list of existing MOCs. Click on the right one, the brackets close [[MOC_Vps]] — and that's it, the connection is created!
Now, if you open the MOC_Vps index file, your new note will already be neatly listed in its Dataview table. And below that, in the file, you can comfortably write all the necessary text, code, and thoughts.
Step 4: Dashboard: Creating the main control center
We have set up automatic note collection into MOC files, but how can we conveniently switch between the hubs themselves? For this, we need a single entry point — a Homepage or Dashboard (call it whatever you like).
To keep this page always at hand and to greet you when opening the vault, we use the third-party Homepage plugin I mentioned earlier.
Configuring the Homepage plugin
Create a note in the root of your vault beforehand and name it "Homepage" (or "Dashboard").
Open Obsidian settings and go to the Homepage plugin section.
At the very top of the settings, in the Homepage file field, select the note you just created.
Make sure to activate the following checkboxes for an ideal workflow:
Open on startup — the vault will always start from the main screen.
Open when no tabs are open — if you close all windows, you won't be left staring at an empty grey screen.
Return when closing — the plugin will return focus to the dashboard.
Refresh Dataview — to ensure lists and tables on the start screen are always up to date.
Designing the Homepage
You can design the note itself however you like: add banners, quotes, or task lists. Callouts work excellently in Obsidian, making the text visually structured.
Here is an example of how the code for my Homepage looks. You can copy it and adapt it to your own projects:
```
# 🚀 Control Center

> [!NOTE] Technical tasks
> This is where the list of TOR for implementation is stored.
>
>
> - [[MOC_Technical tasks]] — Planning to add features to Next.js

## 💻 Tech & Development
> [!NOTE] Technology stack
> This is where the knowledge base for development and servers is stored.
>
> **Frameworks:**
> - [[MOC_NextJs]] — Next.js, App Router, TypeScript
> - [[MOC_Django]] — Legacy projects, Python
> - [[MOC_Development]] — General principles, algorithms, Git
>
> **VPS server:**
> - [[MOC_VPS_Hestia]] — Ubuntu, Nginx, Docker, Security

## 💼 Work & Business
> [!NOTE] Workflows
> Production and project management.
>
> **Directions:**
> - [[MOC_Work]]
> - [[MOC_Work_Planning]]

## 🏢 Business & Admin
> [!example] Management
>
> - [[MOC_Accounts]] — Accesses, passwords, services (🔐)

## 🏠 Life & Garage
> [!tip] Personal space
> **Life:**
> - [[MOC_Personal]] — Home, family, plans
> - [[MOC_Books]] — What to read, notes
>
> **Auto:**
> - [[MOC_Mercedes]] — Mercedes W211 (maintenance, spare parts)
```
Verdict: The perfect architecture without the chaos
If you look closely at the structure of the Dashboard, the main point becomes clear: this is your Super-MOC (the MOC of all MOCs).
This page unites all your disparate spheres of life and work in one place. You no longer need to frantically click through the directory tree on the left, trying to remember where you saved that piece of Nginx code or your list of car parts.
The workflow logic is now direct and crystal clear:
You open Obsidian and immediately see the Homepage.
With one click, you jump to the necessary section — for example,
MOC_NextJs.An automatically generated table with all the notes on the framework is already waiting for you there.
You open the needed note and get to work.
This approach completely kills the "blank page" fear and the problem of lost information. The main structure is always before your eyes, and adding a new thought using a template takes exactly three seconds. And the coolest part is that this system scales infinitely: from a couple of dozen notes to a huge knowledge base for a developer, student, business manager, writer, or anyone who wants to once and for all get their affairs, ideas, and plans in order.